Feathers seem to be the popular thing now.
I have seen a lot of creative groomers using them.
I saw a demonstration of how to put feathers in the ears, done by Angela Kumpe.
I like the look of the feathers, but I wasn't crazy about the way they are put in the hair.
So, I played around with a way to use feathers without actually crimping the hair.
Making these feather bows does take a little time, but if you ever have a rainy day with nothing to do, you could make a bunch of them up a head of time.

You will need:
~Bows or Flowers
~Feathers
~Costume Beads
~Latex Bands
~Crimping Pliers

~2.5mm Crimp tubes

~ .30mm Bead String Wire
You can get all of these supplies from most any craft store or fabric store.
I will be making a flower/feather bow.
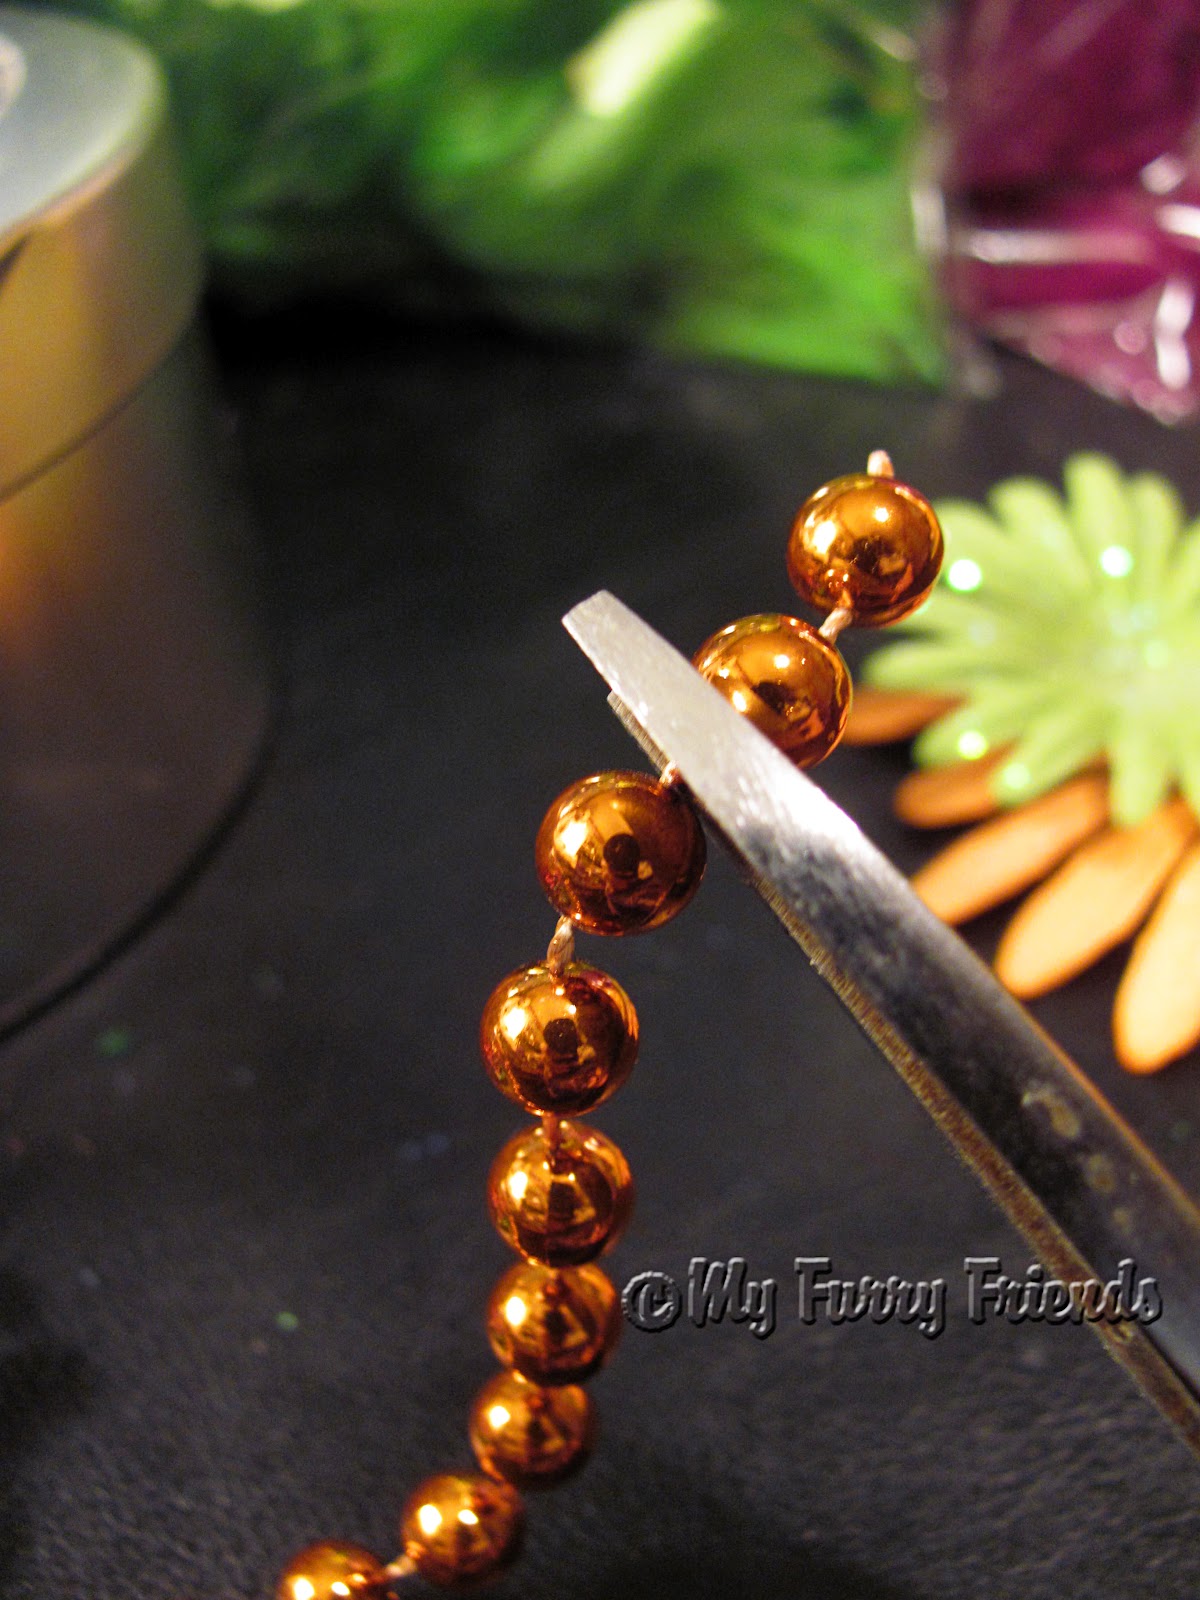
First I cut two beads.

Then I cut about 5 inches of bead wire.
Tie the wire in the middle leaving a loop.
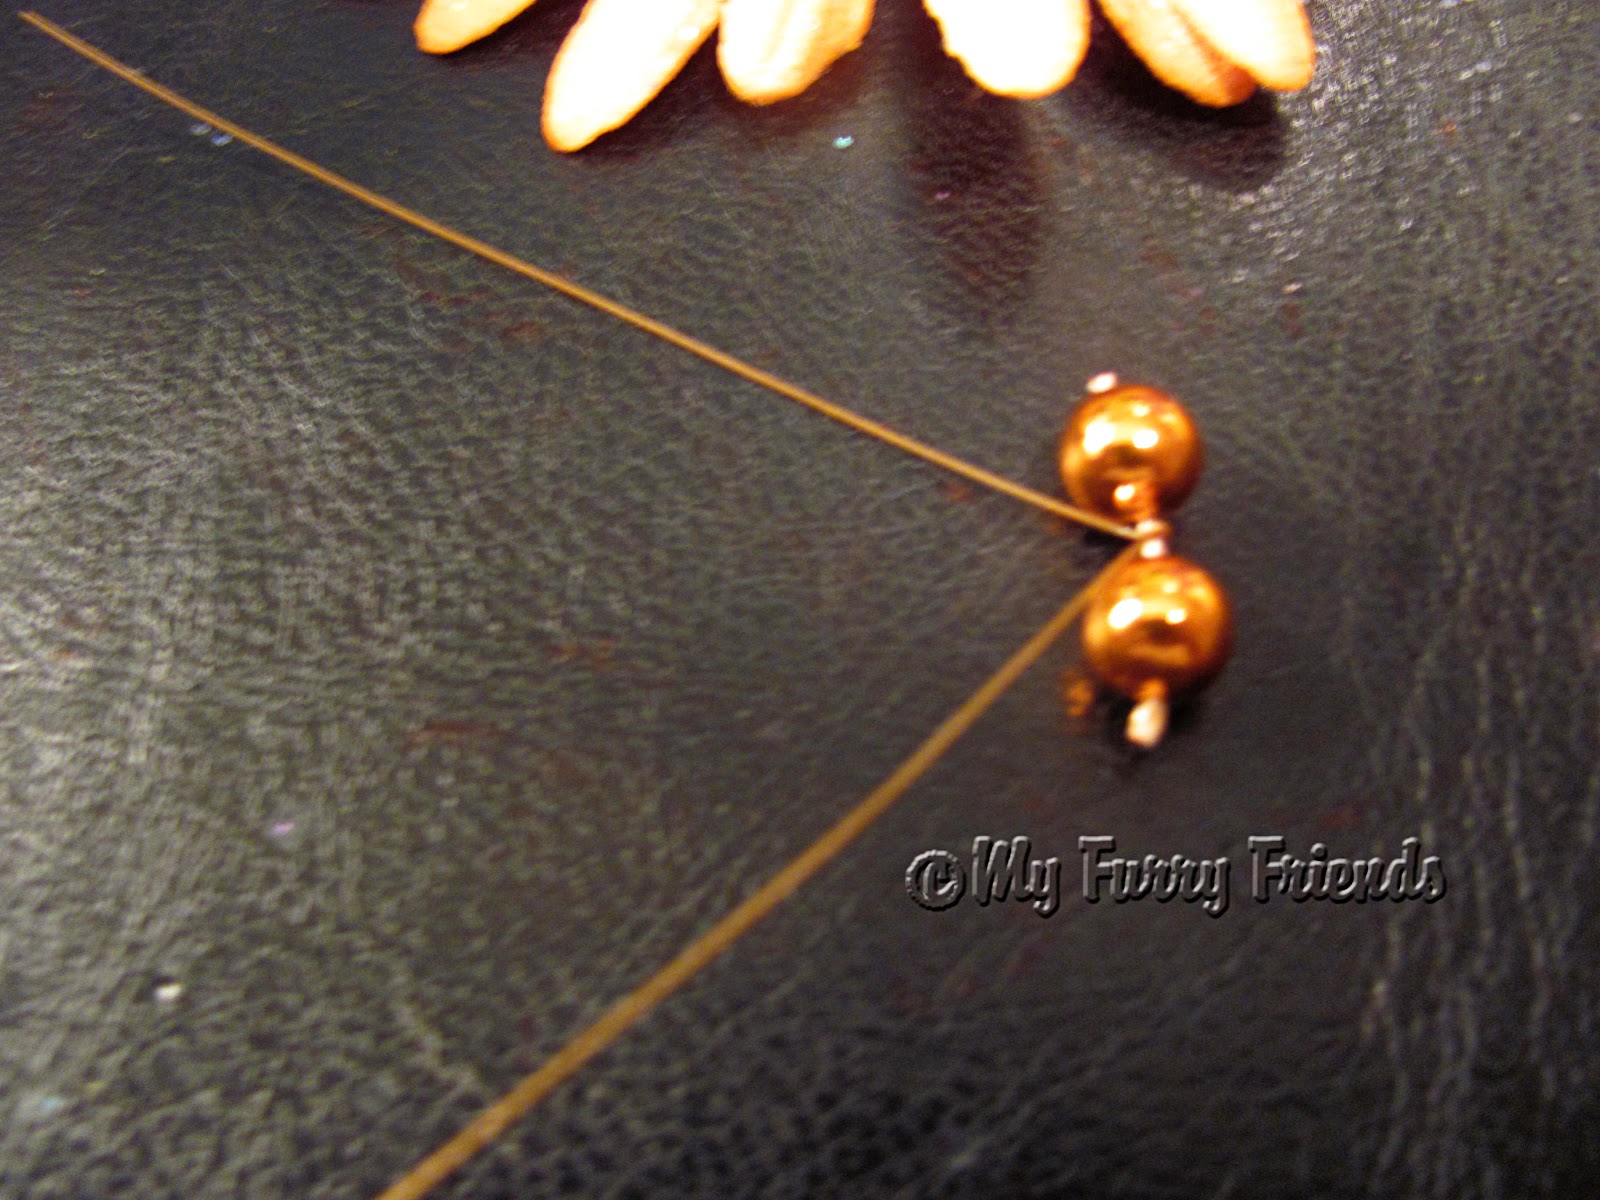
Slide the loop between the two beads and tighten the loop.
You should have two even strings hanging from the beads.

Now loop a latex band between the two beads.
Loop one end of band over the other end and pull to tighten.

Take the flower and push the ends of the bead string through the middle of the front of the flower.
Pull the bead string all of the way through and then feed the latex band through also.
Forceps come in very handy here.

This is the way the back of the flower should look.
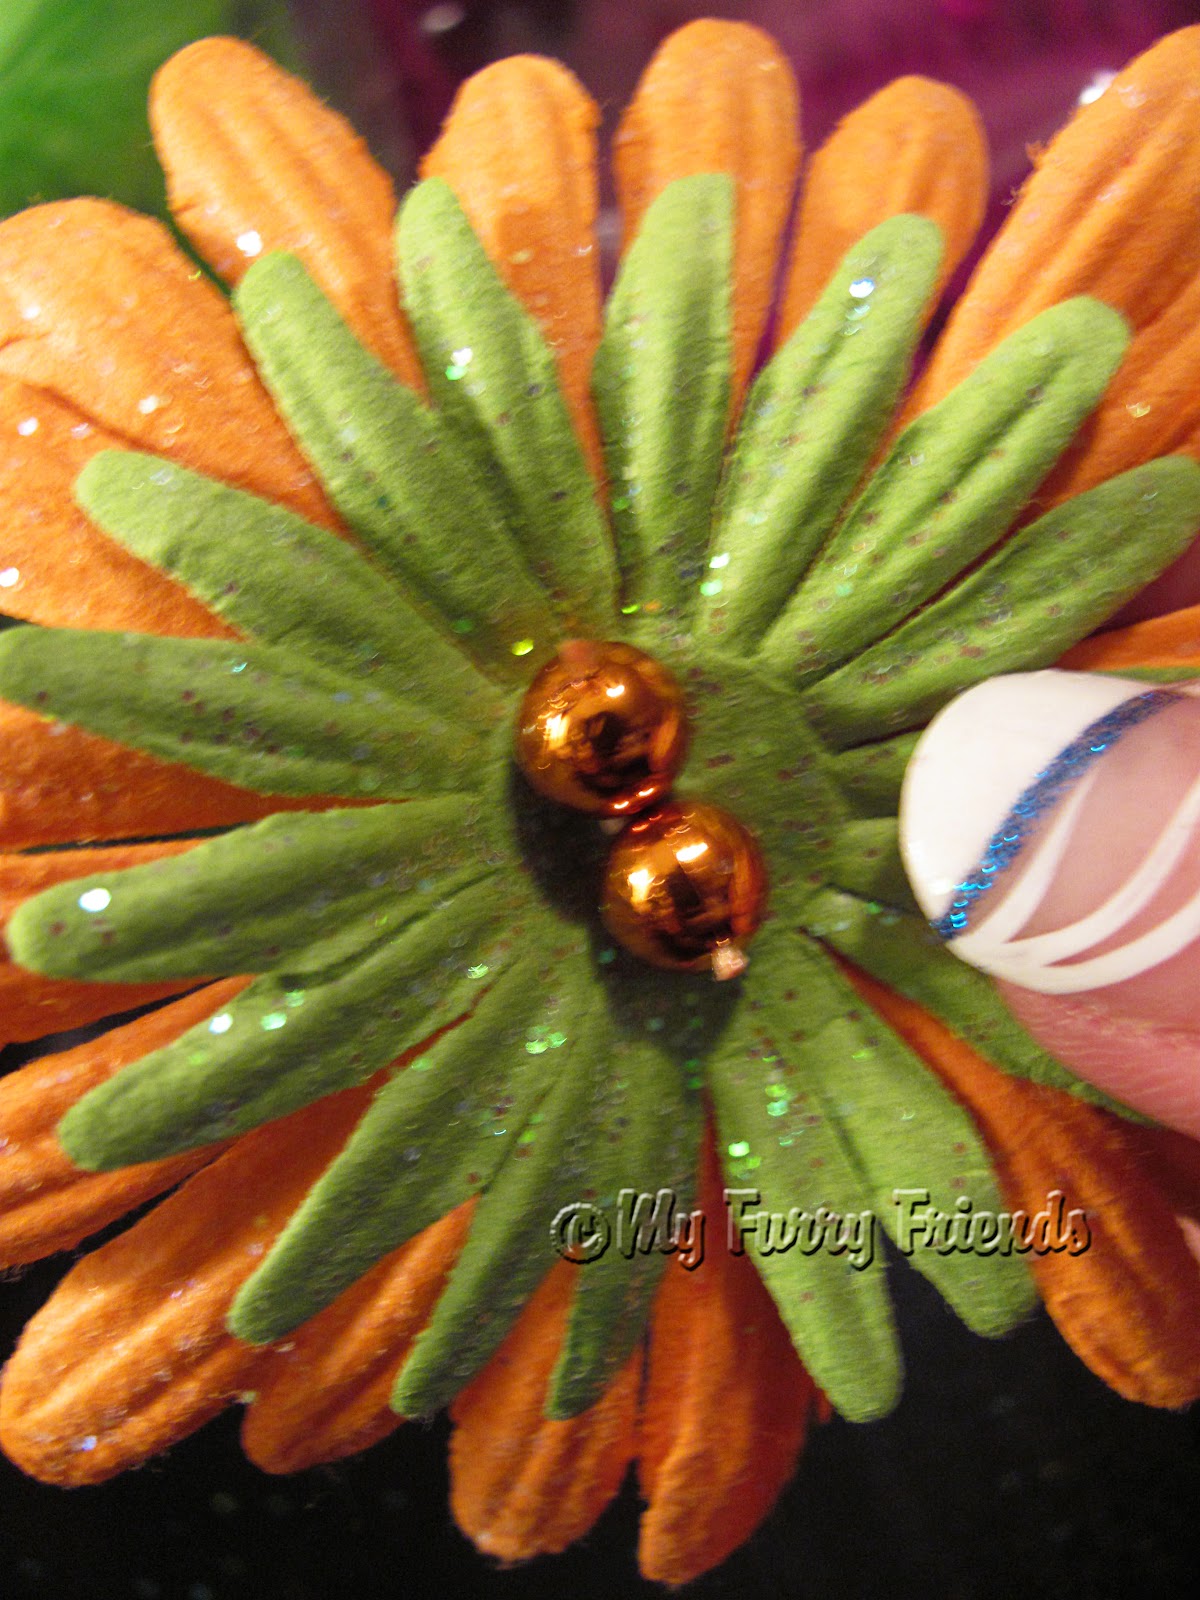
This is the way the front of the flower will look.
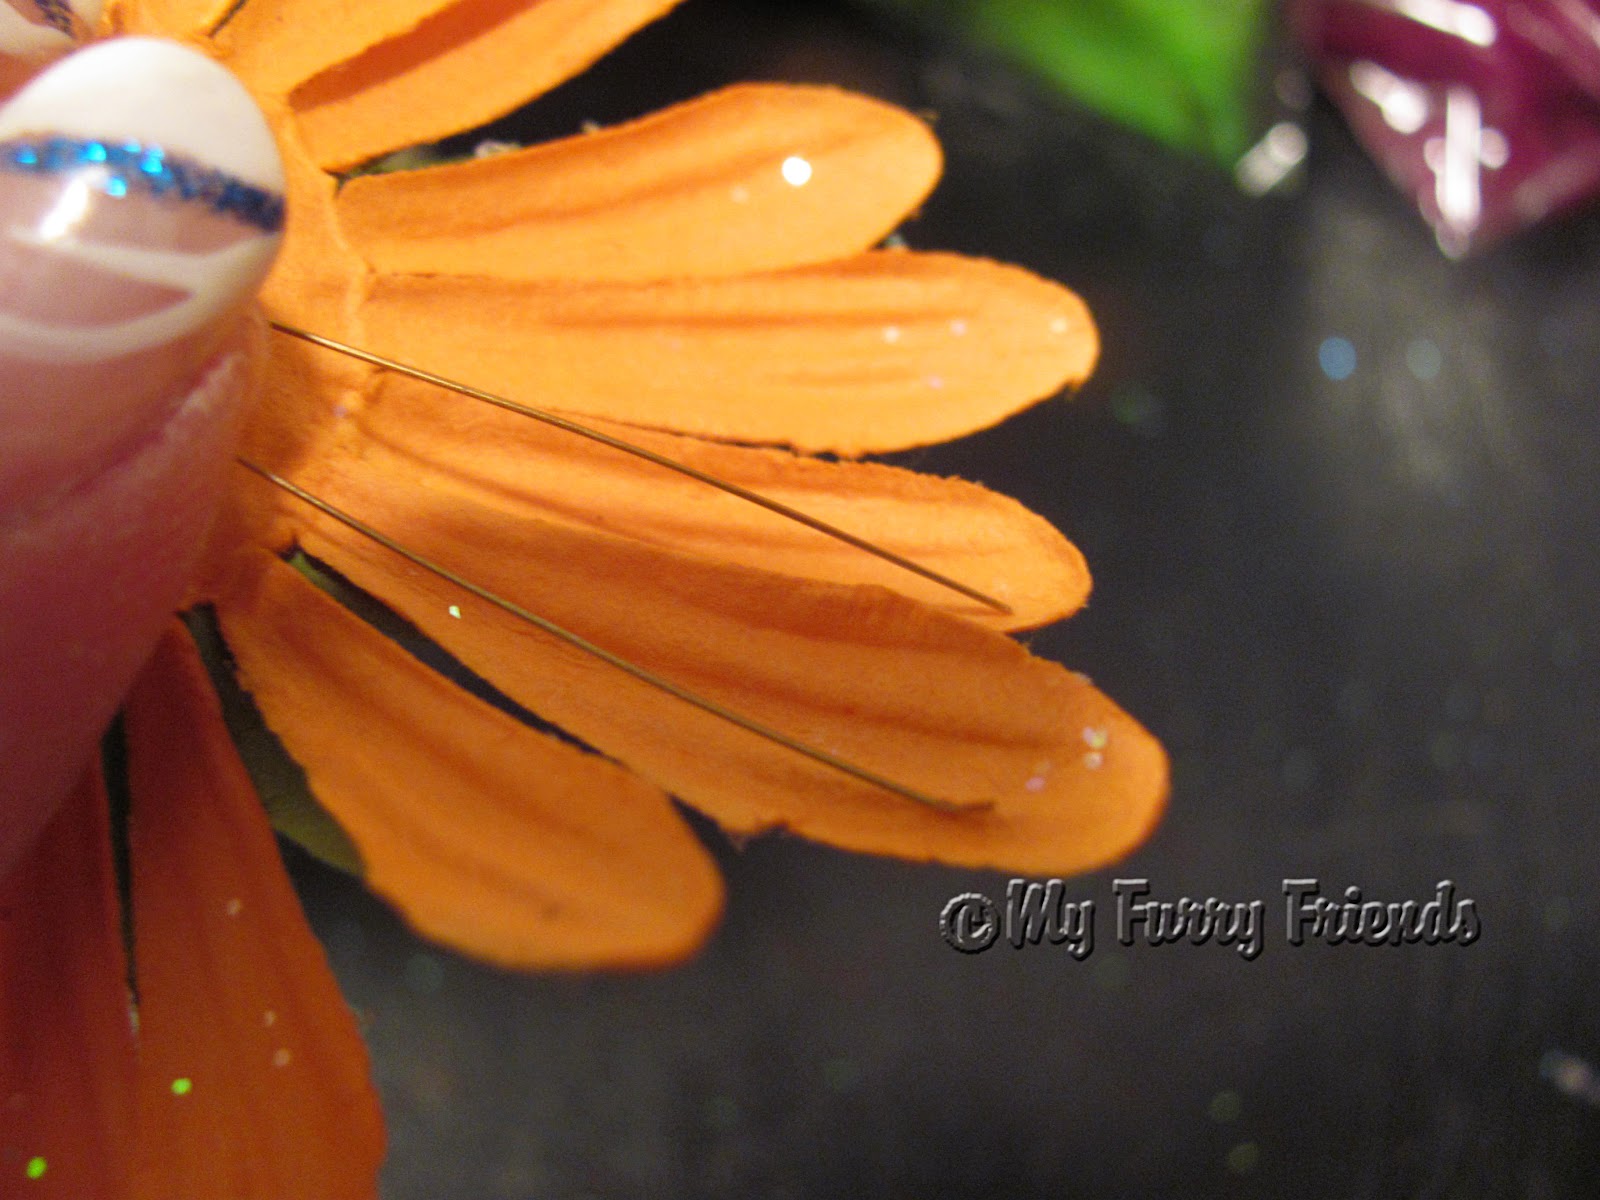
Bend the wire down to the flower and if needed, cut off excess wire.
I like the wire to be behind the flower petals.

Take one of the wires and slide a crimping tube onto it.
Hold in place with your finger.

If the tube part of the feather is too thick for your crimping tube, take scissors and cut a sharp angle.

Slide the tip of the feather into the crimping tube, along side the bead wire.

Use crimping pliers to crimp the tube, wire and feather together.

This is what the crimping bead should look like once it has been crimped.
Repeat above steps with the other wire and feather.

This is the finished feather bow.

These two feather bows are large and made for large dogs.
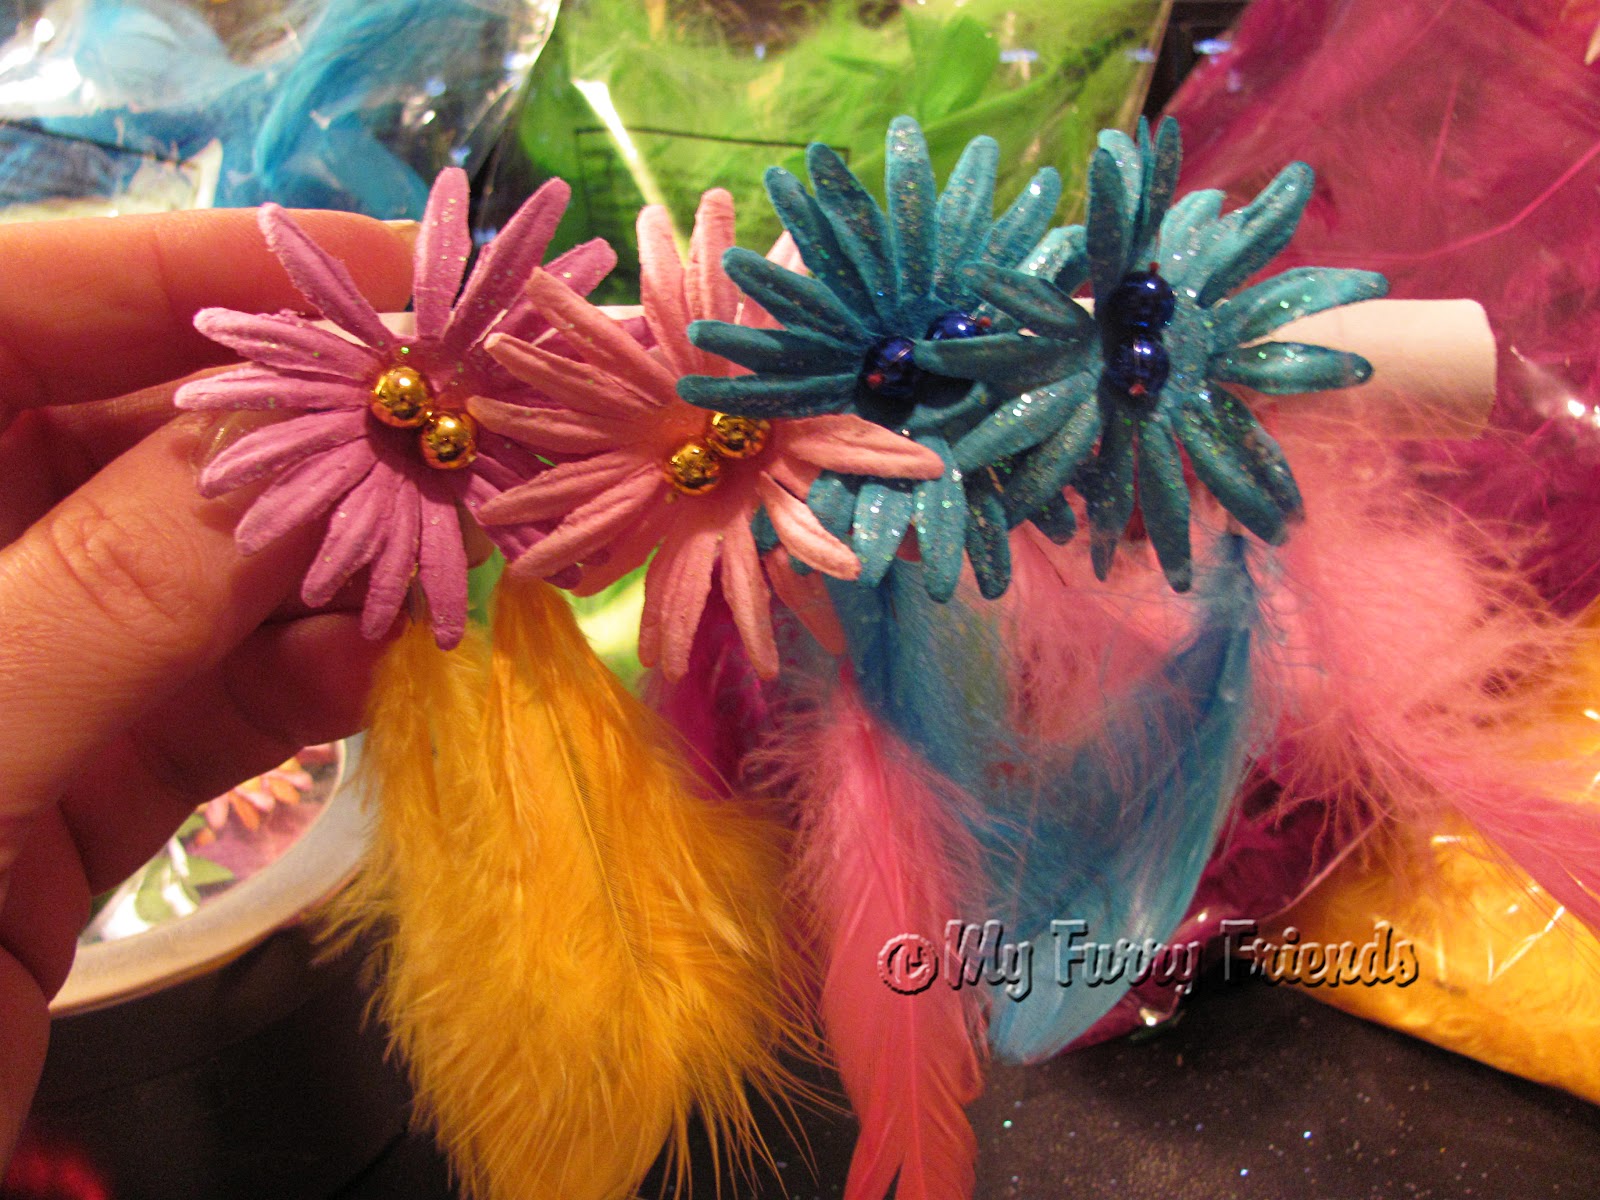
These are some small single flower feather bows.
You can mix and match many colors.

Use the latex band to put the flower bow in the ear.
Here is my Hunter with the bows in his ears.
Don't tell him that I am showing all of you this picture.
He was not happy that I was making him look like a girl.
He really wasn't very happy that I was taking photographic evidence of it.

I know, I know, he needs a grooming.
Who has time?
I am always grooming other peoples dogs. :)
If you only want feathers in the ears, it is very easy and quick.

Cut about a 4 inch piece of bead string.

Crimp a feather on each end of the wire.
Then fold the wire in half.

Loop a latex band around the middle of the wire.

That 's it!
The feathers are ready to put in an ear.
If you want four colors of feathers, make up two pieces of wire and loop a latex band around both of them.

Here are the feathers in my girl, 'Lily's' ear.
You could easily make up a bunch of bead wires with feathers ahead of time, then add them to most any type of bow with a latex band when you are ready to use them.
Have fun!! :)
Happy Grooming, MFF
I love these bows! Thank you for the tutorial. I have been following your blog for awhile now and really enjoy it. Thank you for all the good advice.
ReplyDeleteHi Shelley!
ReplyDeleteThanks for reading my blog! I am glad you like the bows. They are fun.
Lisa, MFF